Description
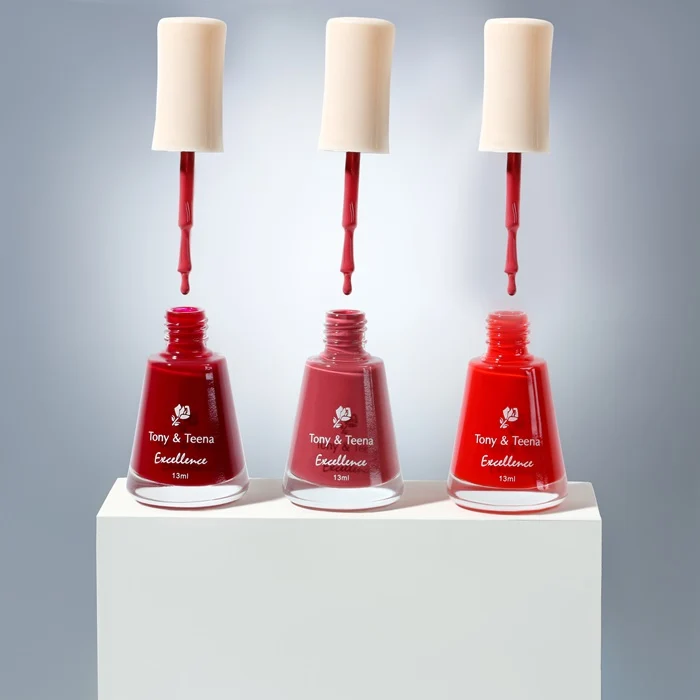
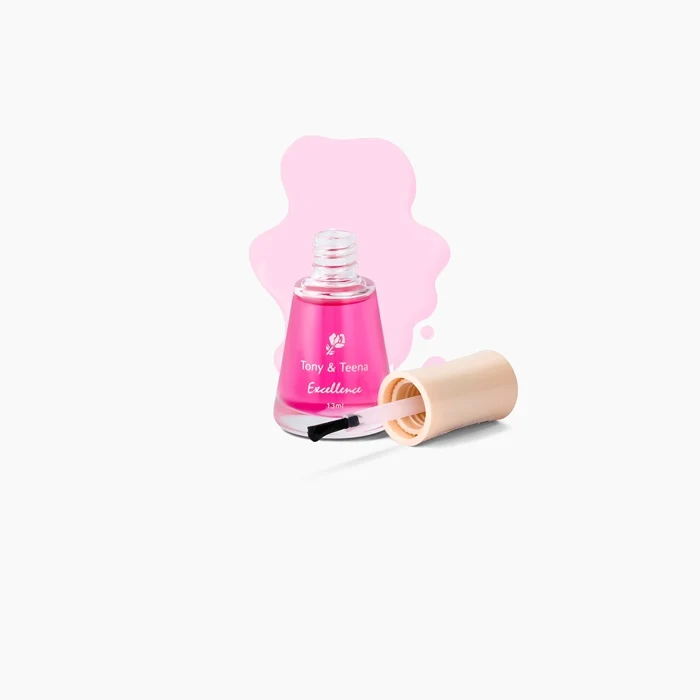
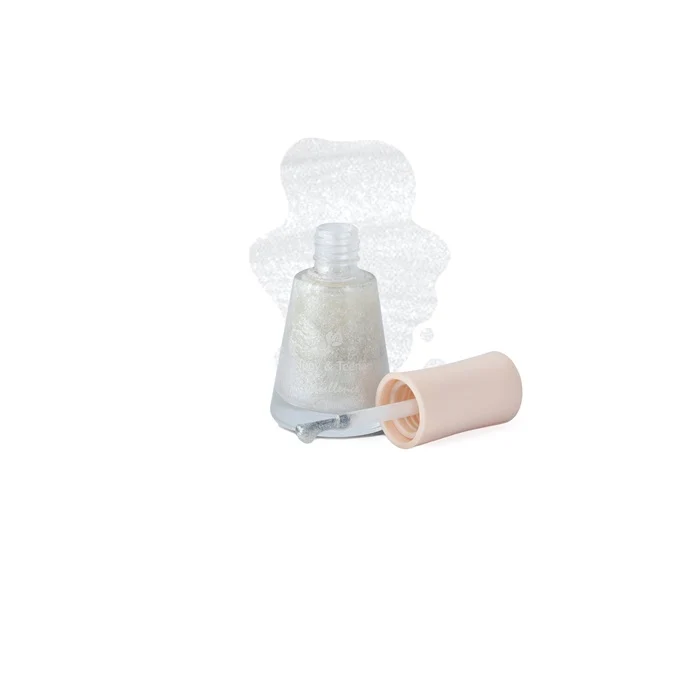
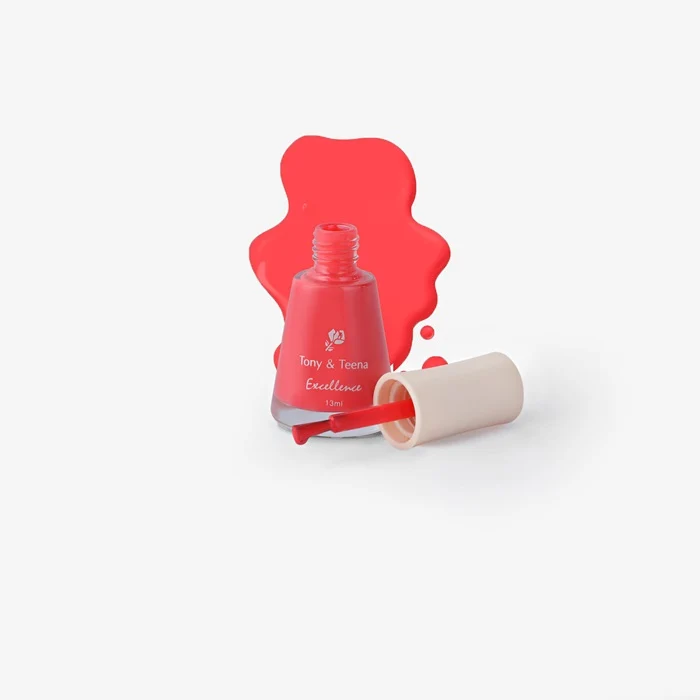
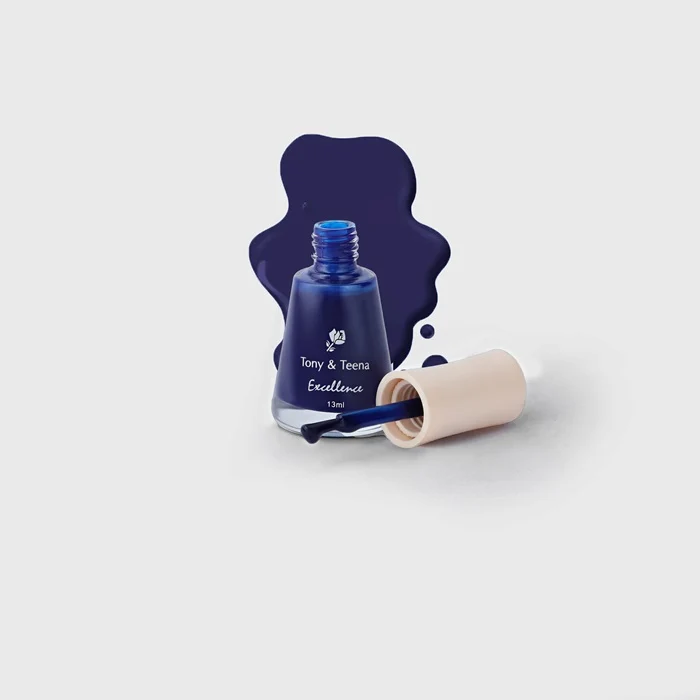
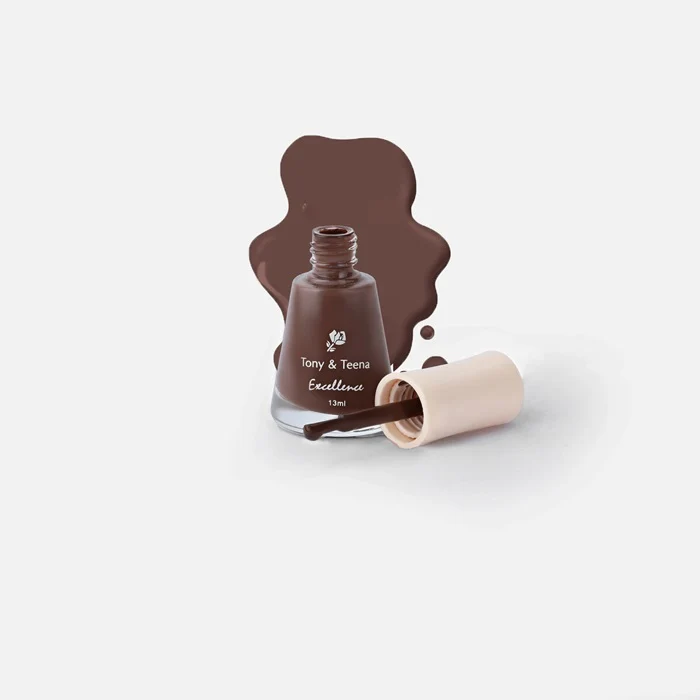
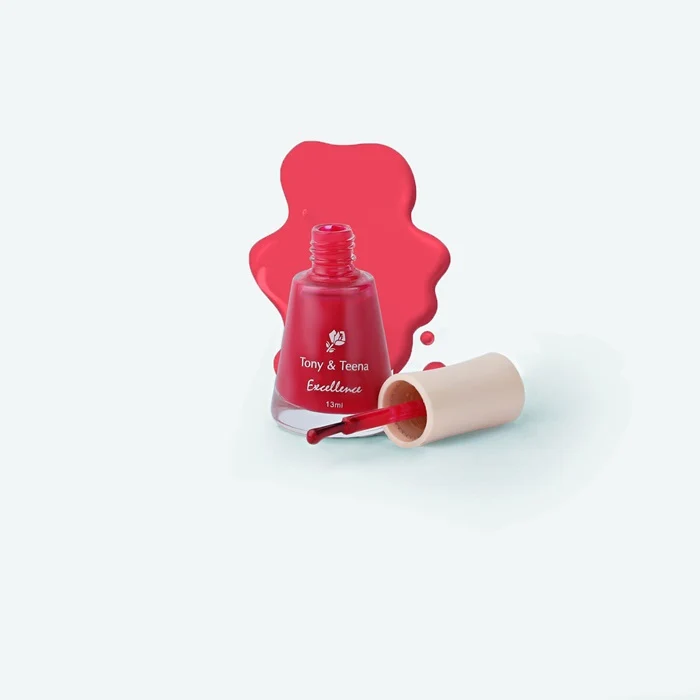
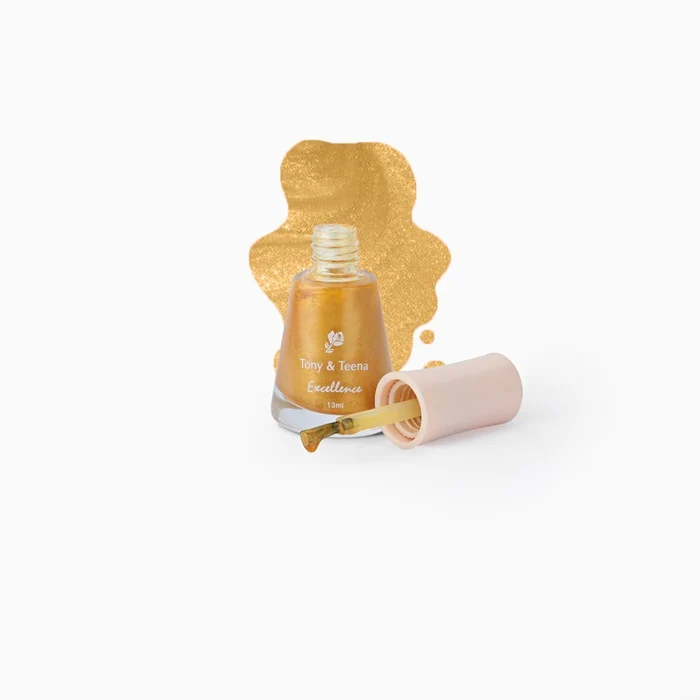
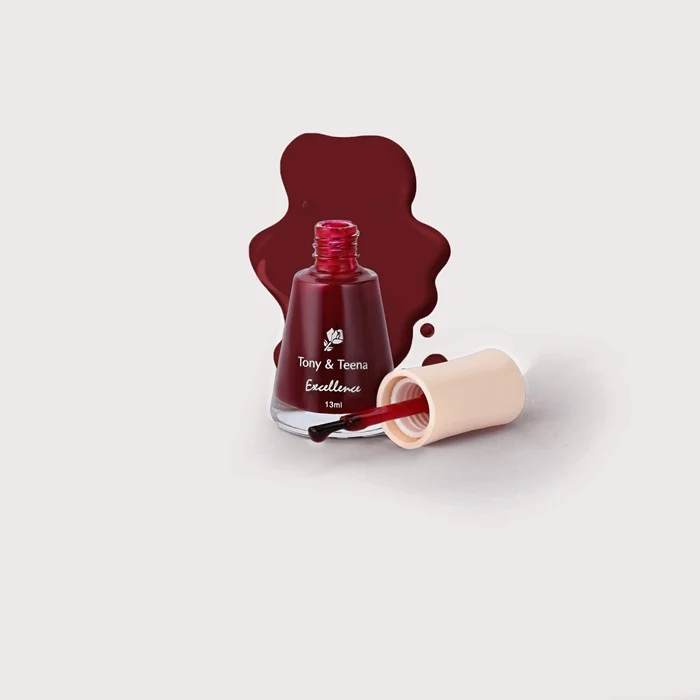
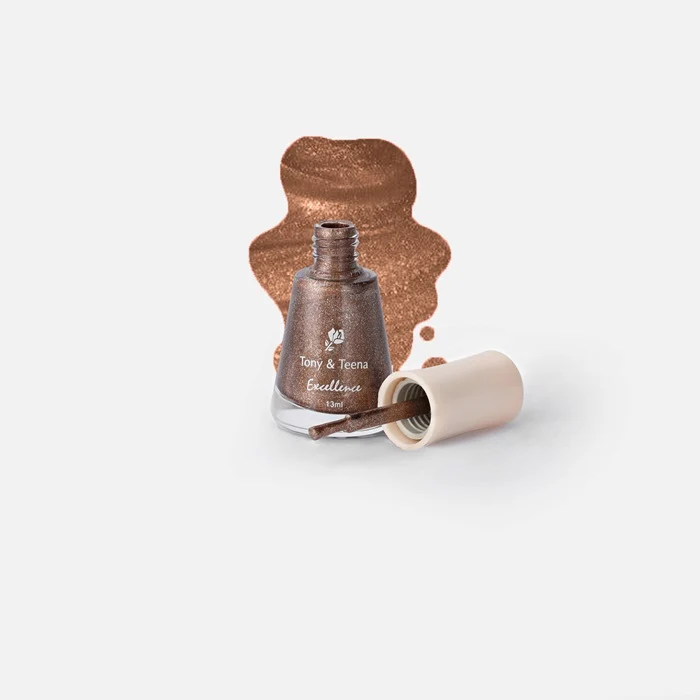
Excellence Nail Paint provides smooth, high-shine color payoff with a quick-drying and chip-resistant formula.
Step-by-Step Application Guide
Step 1: Prep the Nails
-
Clean & Shape: Remove any old nail polish using a remover. File and shape your nails to your desired look.
-
De-grease: Wipe the nails clean with alcohol or a dry tissue to remove natural oils, ensuring better adhesion and longer wear.
Step 2: Apply Base Coat (Optional)
Step 3: Apply Nail Paint
-
Wipe Excess: Remove extra product from one side of the brush against the inside rim of the bottle.
-
Three-Stroke Technique:
-
Place the brush near the center cuticle edge and push gently toward the cuticle without touching the skin.
-
Drag the brush straight down to the tip in the center.
-
Repeat on the left side and right side of the nail for full, even coverage.
-
First Layer: Keep the first layer thin—even if it appears slightly sheer—to ensure quick drying. Let it dry for 2 to 3 minutes.
-
Second Layer: Apply a second thin coat using the same technique to build rich, opaque color payoff.
Step 4: Seal with Top Coat
-
Once the color coat is dry to the touch, apply a clear top coat.
-
Be sure to swipe along the free top edge of the nail (capping the tip) to seal the color and protect against premature chipping.
Pro Tips for Best Results
-
Thin Coats vs. Thick Coats: Multiple thin layers dry faster and last longer than one thick, heavy layer.
-
Fixing Messy Edges: Dip a small, flat brush or cotton swab into nail polish remover to clean up any paint on the skin or cuticles before it sets.
-
Drying: Avoid exposing fresh nails to warm water or humidity right after application to prevent bubbling or smudging.

Reviews
There are no reviews yet.